
A hard drive failure is a nightmare for anyone who stores important files—whether it’s personal photos, work documents, or treasured videos. If your hard drive isn’t functioning properly and you can no longer access or copy many of your files, don’t panic just yet. There are still options for recovering your data. This article will guide you through how to recover data from a damaged hard drive, from using free software tools to seeking professional help if needed.
Understanding the Cause of Damage
Before diving into recovery methods, it’s essential to understand the types of damage that can occur to a hard drive:
- Logical Failures: These are issues like corrupted files, software errors, or bad sectors on the drive. Logical failures are typically recoverable using software tools.
- Physical Failures: This type of damage is more severe and can include issues like head crashes, motor malfunctions, or platter damage. These failures often require specialized equipment for recovery and are usually handled by professionals.
If your hard drive is experiencing logical damage, there’s a chance you can recover some or all of your files yourself. However, if it’s physically damaged, you may need to turn to professionals for assistance.
Step-by-Step Data Recovery Using Free Software
For logical issues, you can often recover data using free applications available online. Here’s how you can go about it:
1. Data Rescue DD
One of the best tools available for recovering data from a damaged hard drive is Data Rescue DD. It is a free application compatible with both Windows and macOS, designed to help users create disk images of damaged drives. By creating a disk image, you can avoid any further data loss caused by writing operations on the failing drive.
Here’s how to use Data Rescue DD:
- Download Data Rescue DD:
- Visit the official website of Data Rescue DD.
- Select the appropriate version for your system (Windows or macOS).
- Download and install the application.
- Create a Disk Image:
- After installation, launch Data Rescue DD.
- Select your damaged drive from the list of available disks.
- Create a disk image file, which is a snapshot of your entire drive. This will allow you to work with a copy of the data rather than risking further damage to the original disk.
- Recover Your Data:
- Once the disk image is created, you can use various data recovery software (like Recuva, EaseUS Data Recovery Wizard, or others) to scan the image and recover your files.
Creating a disk image is a crucial first step, as it ensures no further modifications are made to the damaged drive, minimizing the risk of permanent data loss.
2. Use Additional Free Data Recovery Software
Once you have a disk image, you can attempt to recover the files using third-party data recovery software. Here are some reliable free options:
- Recuva (Windows):
- Recuva is a free data recovery tool that’s easy to use and works well for logical failures. It can recover lost or deleted files from hard drives, flash drives, and memory cards. It offers a deep scan feature to search for files that have been deleted or lost due to disk damage.
- EaseUS Data Recovery Wizard (Windows & macOS):
- EaseUS offers a free version with a 2GB recovery limit, making it a good option for recovering smaller amounts of data. It can recover data from damaged drives, even after formatting, and supports a wide range of file types.
- TestDisk (Windows & macOS):
- TestDisk is a free, open-source recovery tool that can help with recovering lost partitions or rebuilding boot sectors. It’s particularly useful if the damage is related to partition tables or boot sectors.
3. How to Use Data Recovery Software
- Step 1: Download and install the software of your choice (Recuva, EaseUS, or TestDisk).
- Step 2: Launch the recovery software and select the disk image you created earlier (or the damaged hard drive if accessible).
- Step 3: Run a scan to detect recoverable files. The software will check for any file remnants that are still intact, even if they’re hidden or not normally visible.
- Step 4: Once the scan is complete, select the files you wish to recover. Save them to a different location (preferably another external hard drive or cloud storage).
When to Seek Professional Help
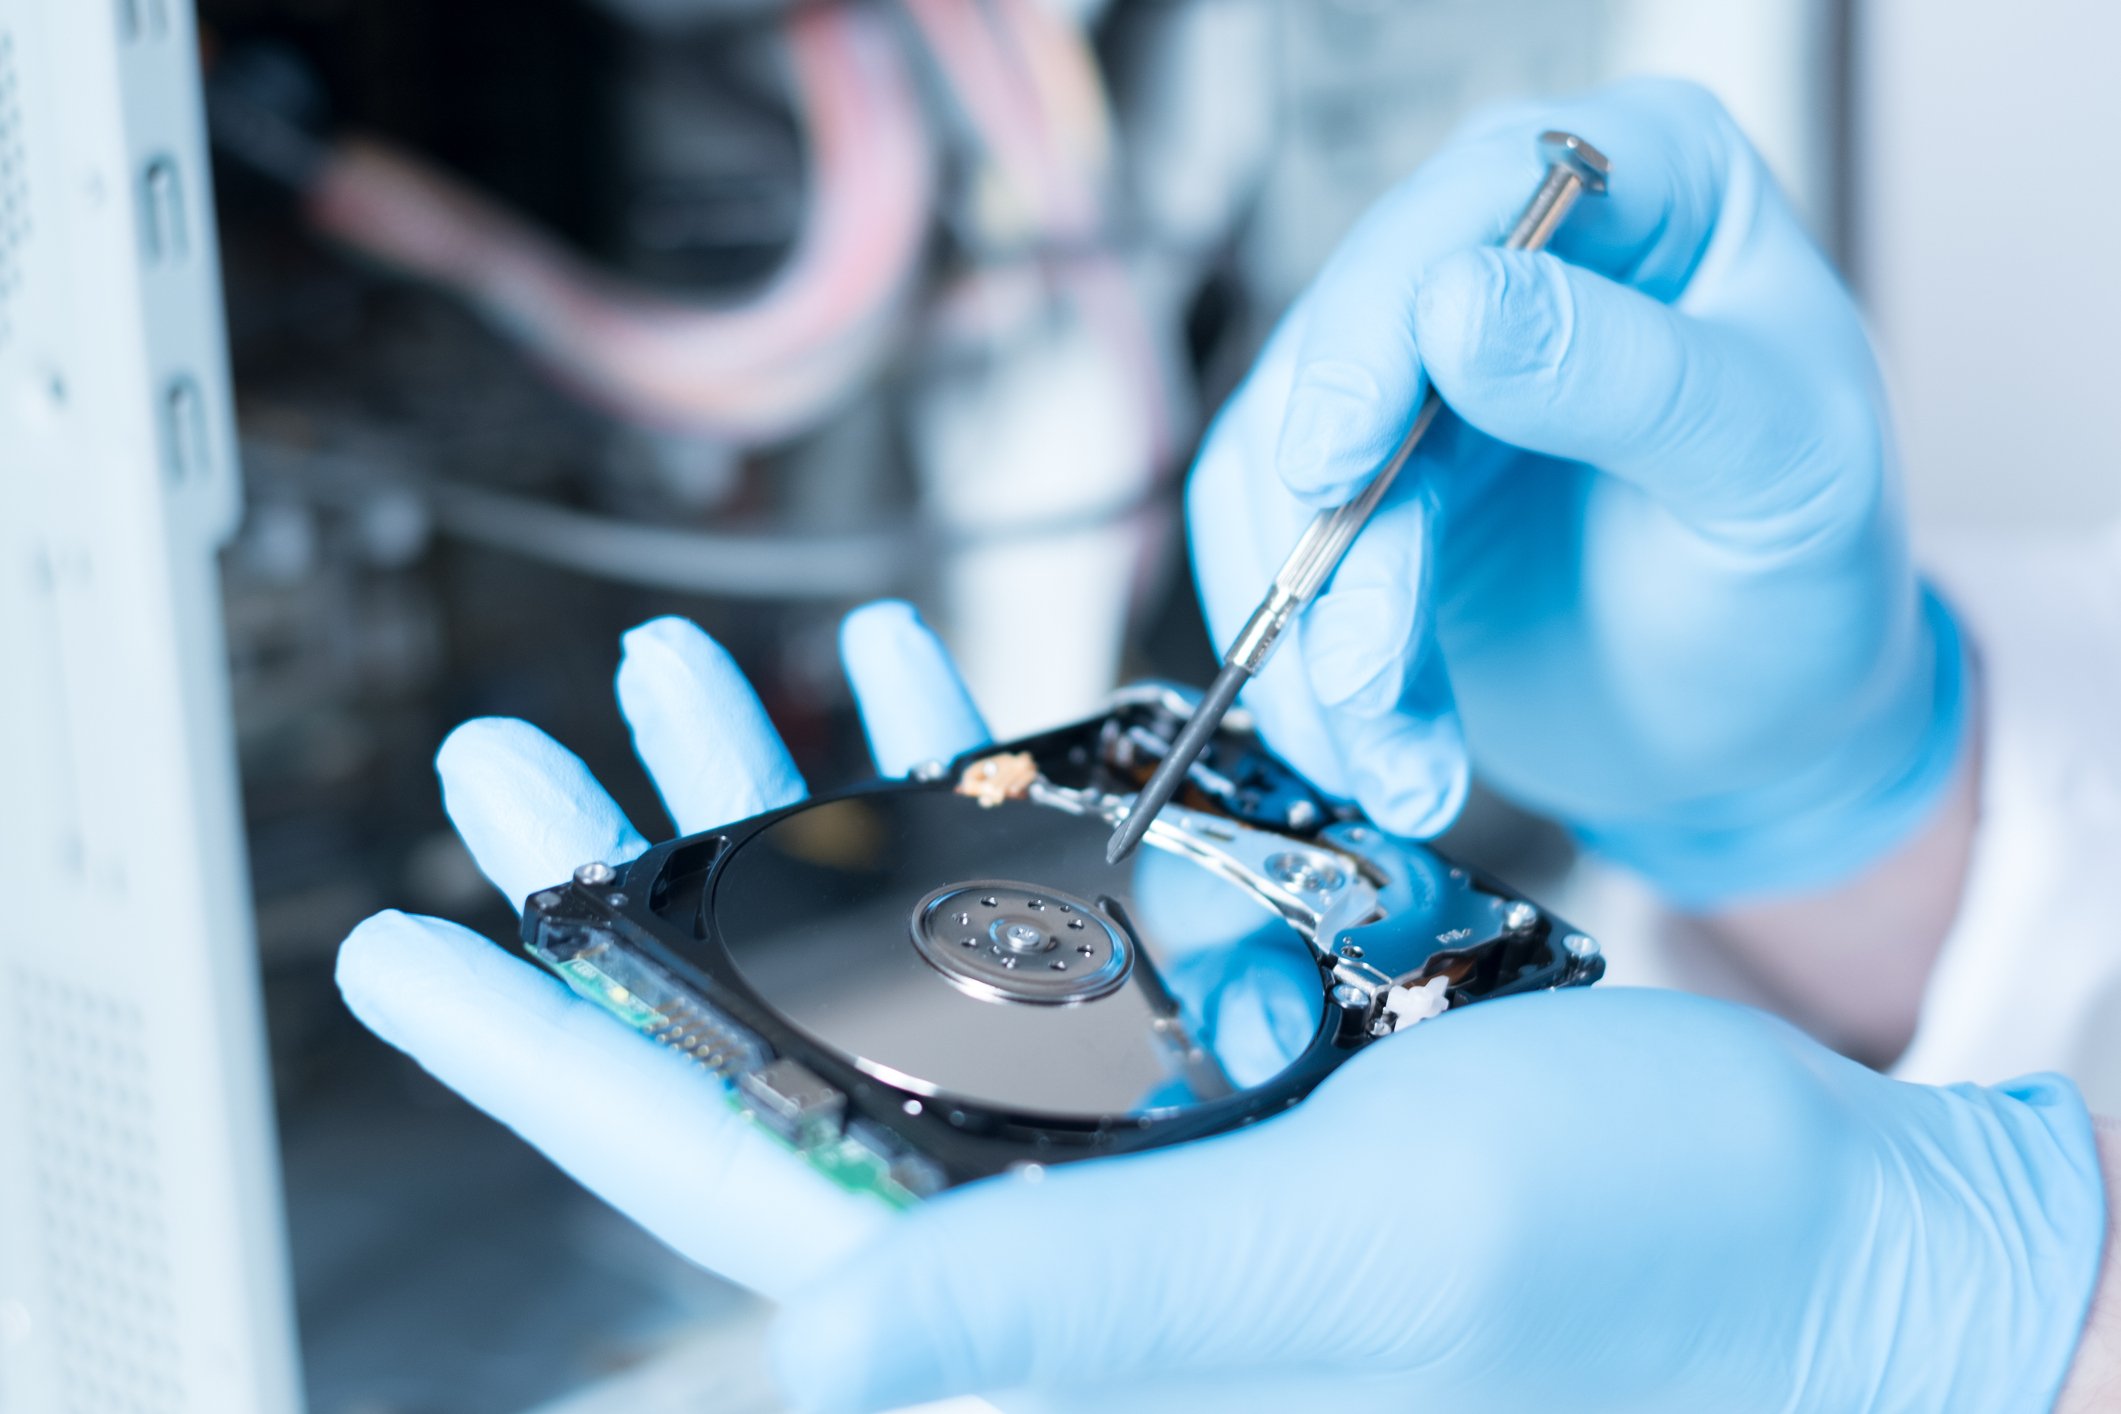
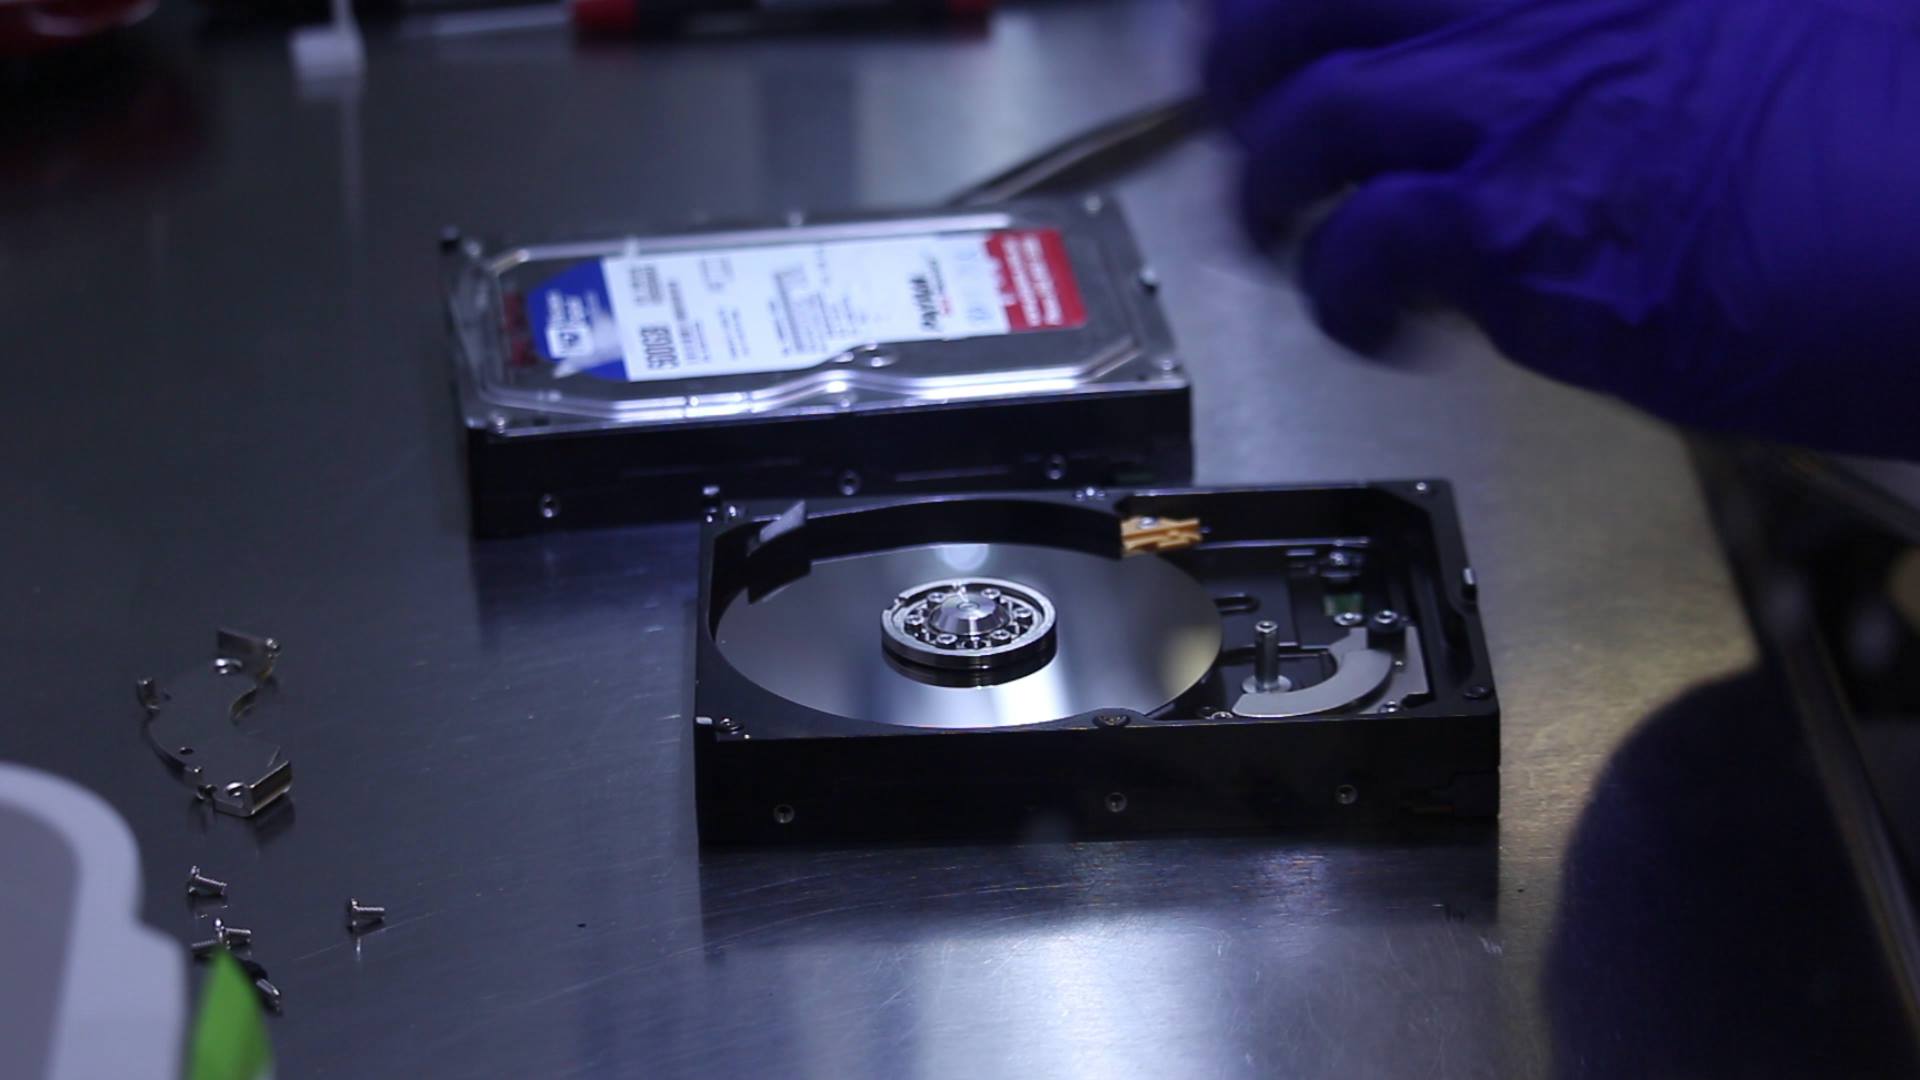
If your hard drive has suffered physical damage (such as a clicking sound, motor failure, or head crash), software tools will likely be ineffective. In such cases, you’ll need to seek professional data recovery services. These services have specialized equipment and expertise to open the hard drive in a clean room and recover data from physically damaged disks.
Here’s when you should consider professional recovery:
- If the drive makes unusual noises (clicking, grinding, beeping).
- If the drive isn’t recognized by your computer at all.
- If you’ve tried DIY software methods and still can’t recover the data.
Professional data recovery services can be expensive, but they offer the highest chance of recovering your valuable data from severely damaged hard drives.
Preventing Future Data Loss
While recovering data is possible, it’s always better to prevent data loss before it happens. Here are some tips to keep your data safe:
- Regular Backups: Make sure to back up your important files regularly to an external hard drive or cloud storage.
- Use Reliable Hardware: Invest in a good quality hard drive from a reputable manufacturer.
- Avoid Physical Damage: Handle your hard drive with care and avoid exposure to heat, water, or physical shock.
- Enable File History/Backup Features: Use built-in backup solutions like Windows File History or macOS Time Machine to automatically back up your data.
Conclusion
A damaged hard drive doesn’t always mean that all hope is lost. With the right tools and techniques, you can recover most, if not all, of your data. Using software like Data Rescue DD to create a disk image and then using recovery tools like Recuva or EaseUS can help you recover your files without professional assistance. However, if the damage is physical, it’s best to consult with a data recovery professional. Always remember to back up your important data to avoid the need for data recovery in the future.